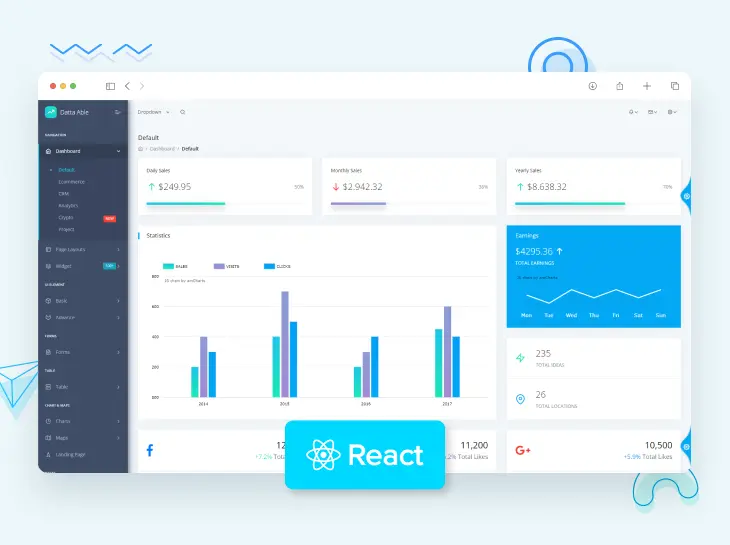
This article presents an open-source seed project crafted with Docker and Django on top of Datta Able Bootstrap 4 design (free version). The product can be used from simple eLearning projects to fully-fledged commercial products based on the permissive (MIT) License.
For newcomers, Django is a leading web framework coded in Python by experienced programmers using a “batteries-included” concept and Docker is a popular virtualization platform used to deliver software much faster.
Thanks for reading! Topics covered:
- 👉 Section #1 – Short introduction to Django
- 👉 Section #2 – What is Docker
- 👉 Section #3 – Start Datta Able Dashboard in Docker
- 👉 Section #4 – Compile Datta Able from Sources
- 👉 Django Datta Able – source code (contains the DEMO link)
1# – Django Short Introduction
Django is a modern web framework crafted in Python language that provides modules and libraries for many common features required in modern web development. This amazing library is actively supported and versioned by a large open-source community using a batteries-included concept. Here is a short list with features provided by Django out-of-the-box :
- Session-based authentication, Social Login via Google, Apple .. etc.
Out-of-the-boxAdmin Section with CRUD access for all tables- Abstract Database access via a powerful ORM
- Powerful built-in security patterns (anti-CSRF, XSS attacks)
- Helpers for almost anything:
forms,data validation - A powerful
command-line-interfaceto interact with the application
Django can be installed in many ways and the most recommended way is to use PIP, the official Python package manager. Let’s create a simple Django project.
Step #1 – Create a virtual environment (optional but recommended)
$ virtualenv env
$
$ # Activate the virtual environment
$ source env/bin/activate
Step #2 – Install Django via PIP, the official package manager for Python
$ pip install django // install latest version Step #3 – Build a simple Django project
$ mkdir my_django_project
$ cd my_django_project
$
$ django-admin startproject config .
Step #4 – Start the project
$ python manage.py runserver Once all the above commands are executed, we should see in the browser the default Django splash screen when accessing http://localhost:8000 .
2# – What is Docker
According to the official documentation, Docker is virtualization software for developing, shipping, and running applications that provides a clear separation of applications from the infrastructure so we can deliver software much faster and reliable. Basically, Docker provides a way to bundle web apps and APIs into containers that are executable components built with applications source code and operating system software libraries.
Once the containers are bundled, Docker provides also a control layer that enables full control over the software: deploy, start, stop, restart and update containers using simple commands. For more information about Docker feel free to access:
- Docker overview – the official documentation
- What is Docker – comprehensive article provided by OSS.com
3# – Start Datta Able using Docker
Probably the most easier way to start and use the product is to use the Docker scripts shipped with product sources. The first step is to download the product from the official page or use Git to clone the product from Github. Once the sources are available on our workstation, we can build and start the product with ease:
Step #1 – Clone sources from Github
$ git clone https://github.com/app-generator/django-datta-able.git
$ cd django-datta-able
Step #2 – Start in Datta Able Django Docker
$ docker-compose pull   # pull dependencies
$ docker-compose build  # build local packages
$ docker-compose up     # start Datta Able in Docker
If all the above commands are executed successfully, we can visit the app in the browser and interact with the UI:
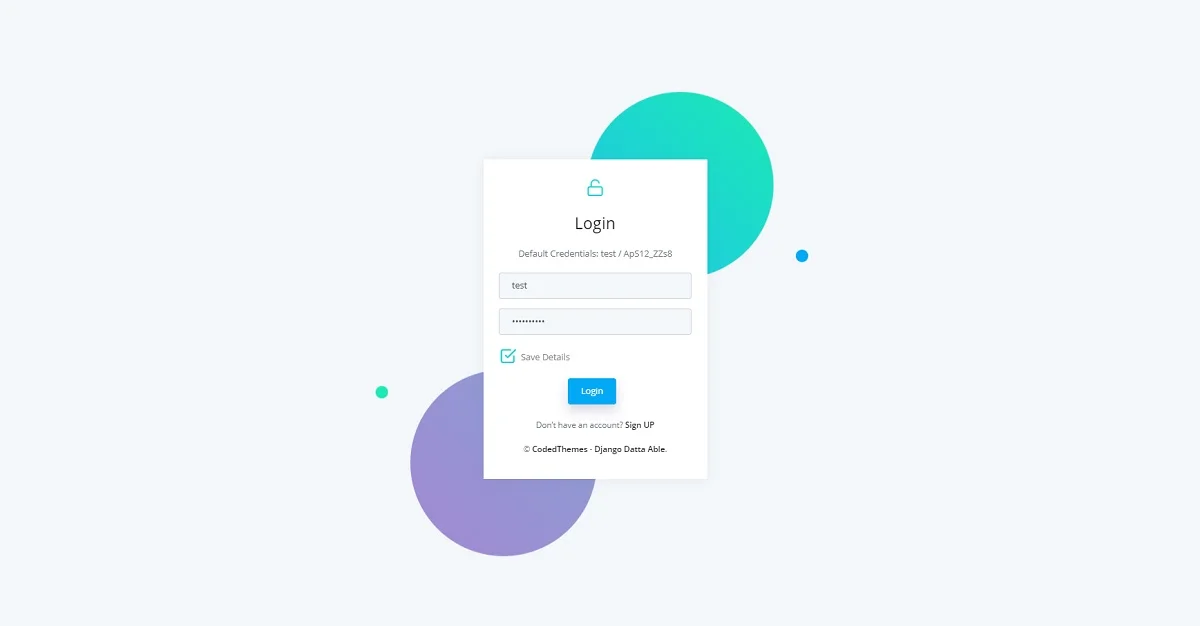
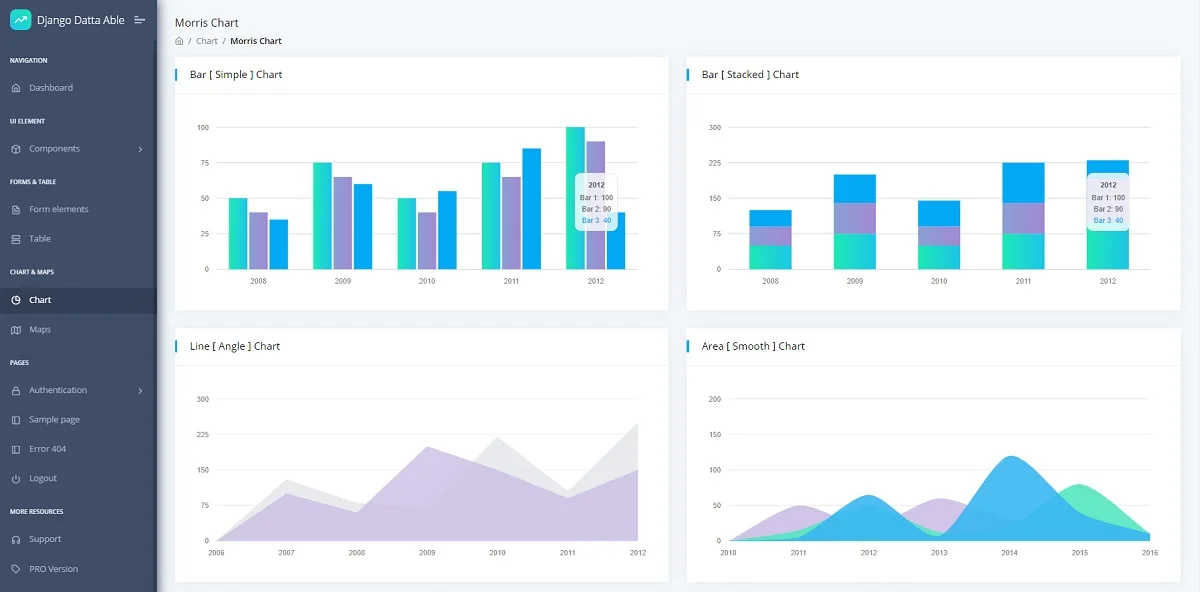
To access the private pages we need to register a new user and authenticate. Once the Sign IN is passed, we can access all private pages: dashboard, charts, transactions.
4# – Compile from sources
Another way to build Django Datta Able is to follow the build instruction provided by the official documentation and compile from sources. Here is the code:
Step #1 – Clone sources or download from the product page
$ git clone https://github.com/app-generator/django-datta-able.git
$ cd django-datta-able
Step 2 – Install app modules
$ virtualenv env
$ source env/bin/activate
$
$ pip3 install -r requirements.txt
Step 3 – Set up database (mandatory step)
$ python manage.py makemigrations
$ python manage.py migrate
Step 4 – Start the project
$ # Start the application (development mode)
$ python manage.py runserver # default port 8000
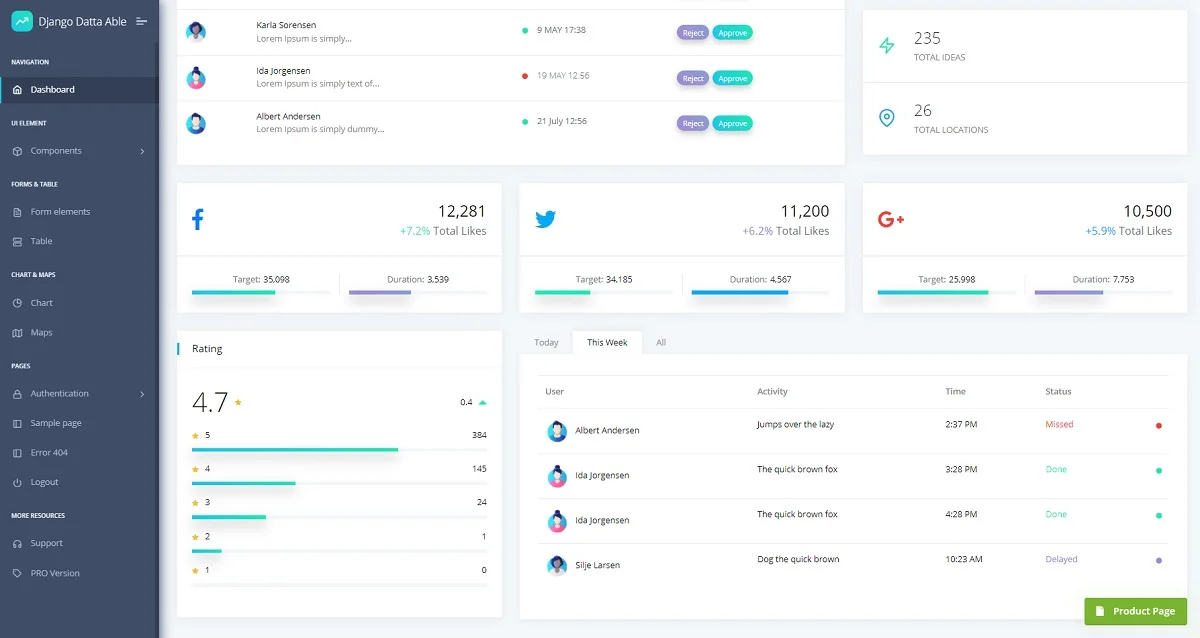
By visiting the app in the browser, we should be able to authenticate and use this simple Django Template.
Thanks for reading! For more resources, please access:
- Django Datta Able PRO – the premium version (more components and pages)
- Check more django templates by CodedThemes
- Admin Dashboards – a curated list provided by App Generator




Comments